Laying an engineered floor over concrete
Here’s a step-by-step guide to help a DIY enthusiast install an engineered wood floor over a concrete base.
- Start by testing the moisture vapour transmission rate of the concrete. Since concrete is naturally porous, moisture from the ground can rise and become trapped beneath the flooring, potentially leading to mould growth. Aim for around 35–40% relative air humidity and approximately 2–3% moisture content in the slab.
- If the concrete has been laid recently, moisture can be a concern. As a general rule, concrete takes about one month per inch of thickness to fully dry and reaching ideal moisture levels can be challenging.
- If moisture levels are too high, apply a surface damp-proof membrane. Suitable options include a two-component, solvent-free, low-viscosity epoxy primer, or a one-component low-viscosity epoxy primer that cures in roughly 45 minutes.
- Before installation, place the engineered wood flooring in the room for 3–4 days. This allows it to acclimatise to the room’s temperature and humidity.
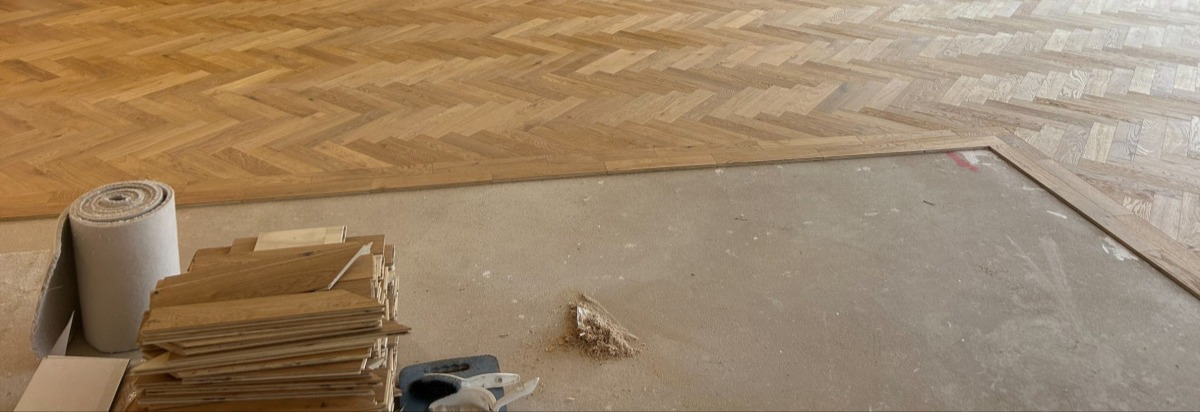
- Ensure the subfloor is clean, dry, free of debris, and completely level. An uneven or dirty surface can cause problems after installation.
Once prepared, you can install the flooring using one of two methods:
- Glue-down installation – Apply a suitable adhesive directly to the concrete subfloor before laying the boards.
- Floating installation – Lay an appropriate underlay first, then install the flooring on top, allowing it to “float” without being fixed directly to the subfloor. Underlays vary and can provide damp protection, sound reduction, insulation, or compatibility with underfloor heating.
Finally, always read and follow the manufacturer’s installation guidelines before starting. Using the recommended method is essential, as improper installation may void the product warranty.
Why Surce?
Why Surce?


