Installing scotia trim
Why Do I Need Scotia Trim For My Wooden Flooring?
Wooden flooring naturally responds to changes in humidity and temperature by absorbing and releasing moisture. As a result, the boards will expand and contract throughout the year—typically expanding in the winter when indoor heating increases humidity fluctuations, and contracting in the drier summer months.
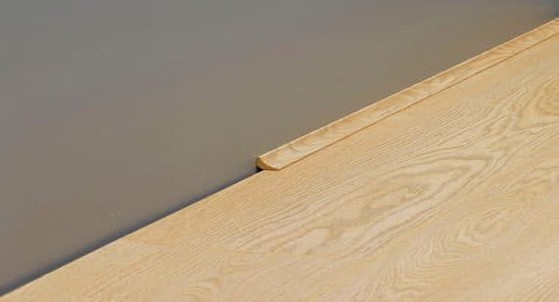
To accommodate this natural movement, an expansion gap is left around the perimeter of the flooring. This gap allows the floor to move freely without causing damage such as buckling or lifting. Once the flooring is installed, this gap is usually concealed using Scotia trim, which neatly covers the perimeter while allowing the necessary movement to continue unseen.
To install Scotia correctly, you will need the appropriate trim in a colour that matches your flooring or skirting, suitable nail fixings, and a mitre saw for accurate angled cuts.
- Start by measuring the full perimeter of the flooring to calculate the total length of Scotia required, then add approximately 10–20% extra to allow for waste and angled cuts. Ensure you select a trim that closely matches both your flooring and skirting, and purchase the correct quantity and size of pins or nails for fixing.
- Next, cut the Scotia to length for each straight section of skirting. Where corners meet, use a mitre saw to cut each joint at a 45-degree angle to achieve a clean, professional finish. Once positioned, the Scotia should be fixed to the skirting board (not the flooring itself) using nails spaced roughly every 30cm. It is important not to secure the trim to the floor, as this would restrict natural expansion and could lead to issues over time.
- After installation, you may notice small gaps between the Scotia and skirting or uneven walls. This is common and can be neatly resolved using a flexible wood filler, which can also be used to conceal nail holes for a seamless finish.
Why Surce?
Why Surce?


